
Hostinger Full Setup Guide
Step by step setup guide
Step 1: Complete your payment and create your Hostinger account
After creating your Hostinger account, you'll be directed to the onboarding sequence.
Skip the onboarding by clicking on the Hostinger icon at the top and then selecting Leave.
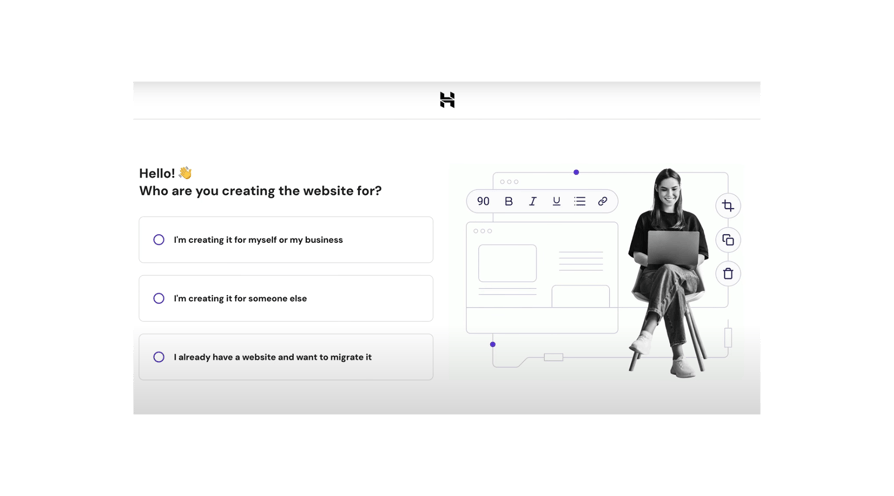

Step 2: Access the Hostinger Dashboard
Now you’re in the Hostinger dashboard.
You need to complete a few setup steps before proceeding.
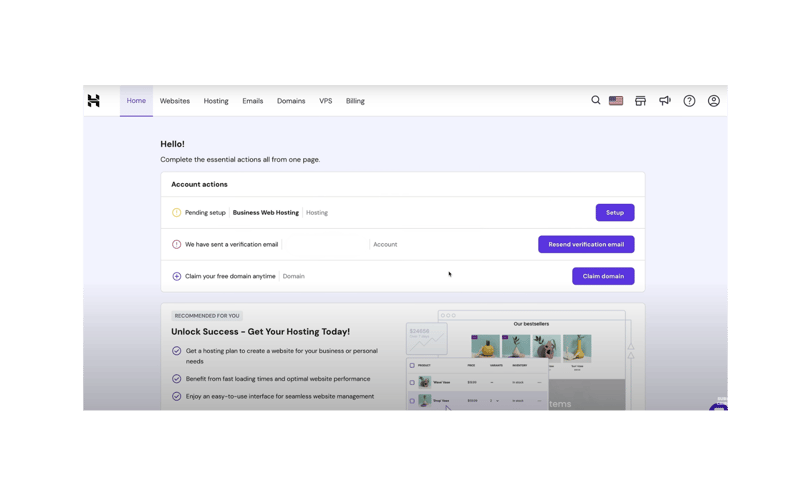

Head to the email inbox you used to sign up for Hostinger.
Look for an email titled "Verify your email address" from Hostinger.
Open the email and click Verify Email.
You’ll be redirected back to your Hostinger dashboard.
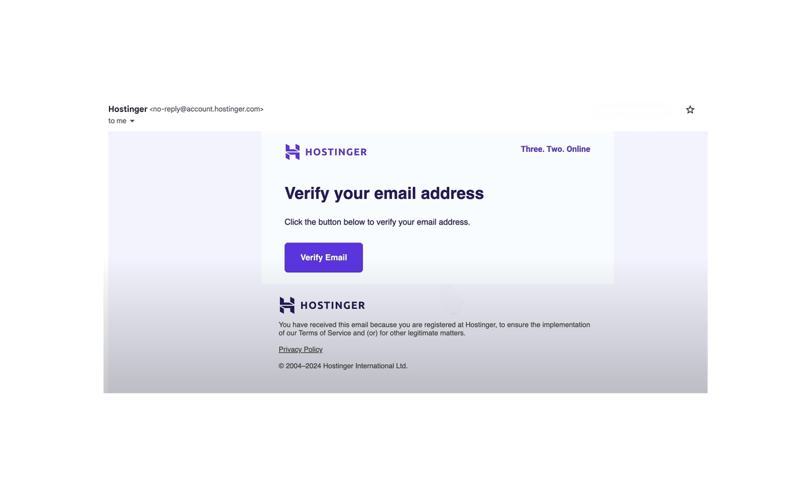

Step 3: Verify Your Email Address
Step 4: Set Up Your Domain Name
A domain name is the web address for your website (e.g., apple.com, facebook.com).
Since you purchased a 12-month hosting plan or longer, you get a free domain for the first year.
Click on Claim Domain.
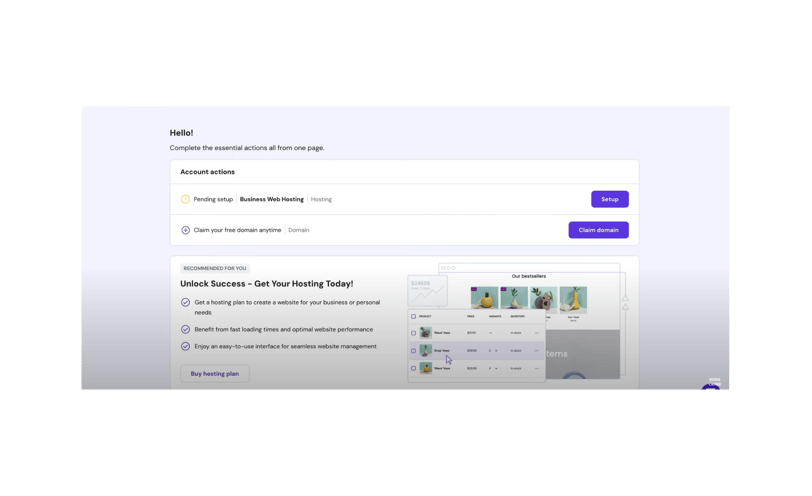

Search for your desired domain name, keeping it short and simple.
For a personal website, it could be yourname.com, or for a business, yourcompanyname.com.
If your first choice isn’t available, be creative or consider changing the domain extension (e.g., .net or .org).
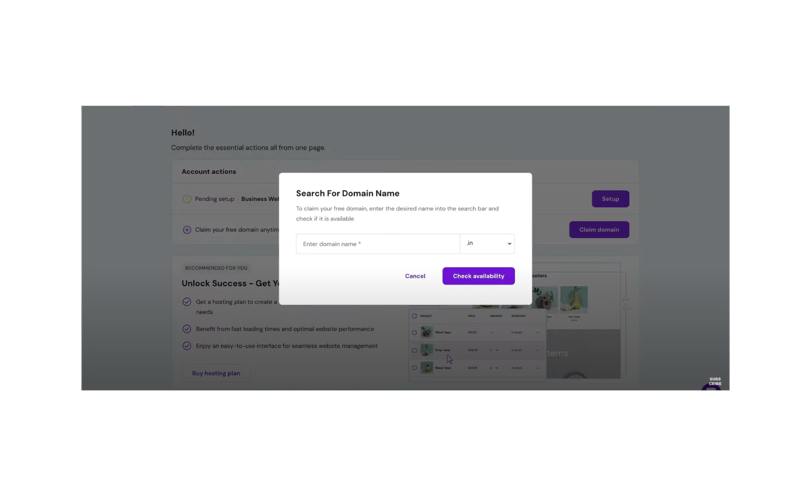

Step 5: Choose Your Domain Name
Step 6: Set Up Your Domain Name
If your first choice isn’t available, be creative or consider changing the domain extension (e.g., .net or .org).
If still unavailable, try another name or domain extension until you find one that works.
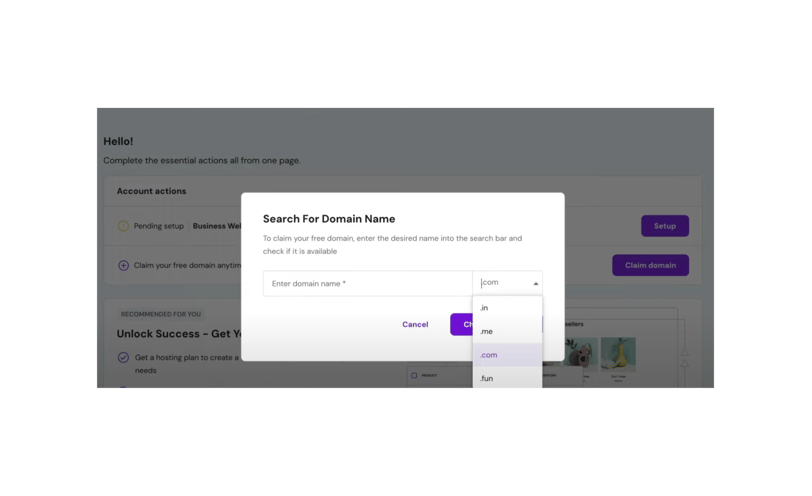

Once you’ve entered a domain name, click Search to check if it’s available.
If available, click on Claim Domain to secure it.
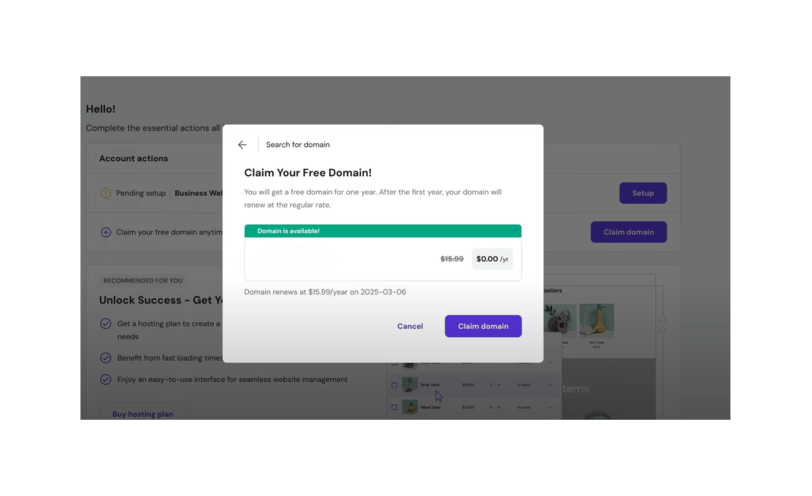

Step 7: Claim your free domain
Step 8: Enter Contact Information
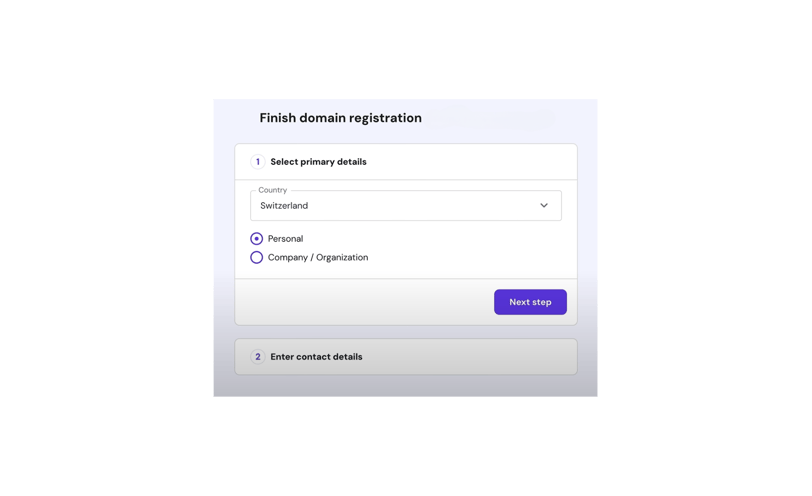
You’ll be prompted to enter your contact details for domain registration.
If the website is for yourself, use your personal details; if it’s for a company, use company information.
Fill out all fields and proceed.

Ignore any hosting offers that appear and click Skip I don't need a website since you already have hosting.
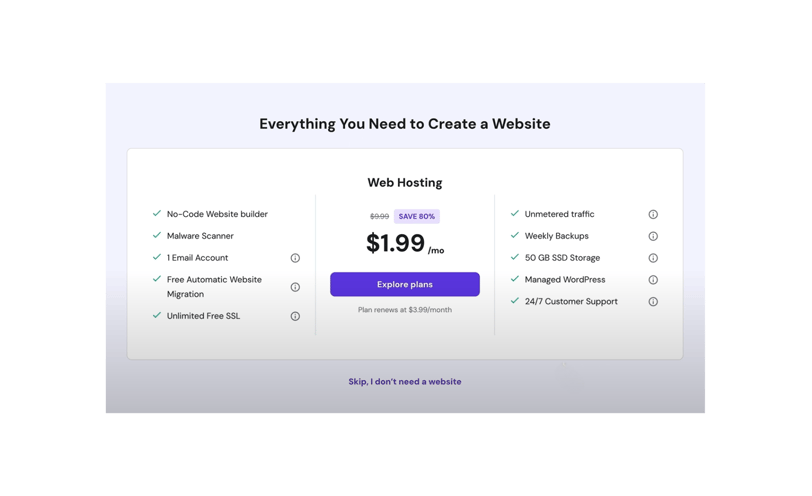

Step 10: Complete Domain Registration
Step 10: Verify Domain Registration
Under the Domains section of the Hostinger dashboard, you’ll see the domain you just registered.
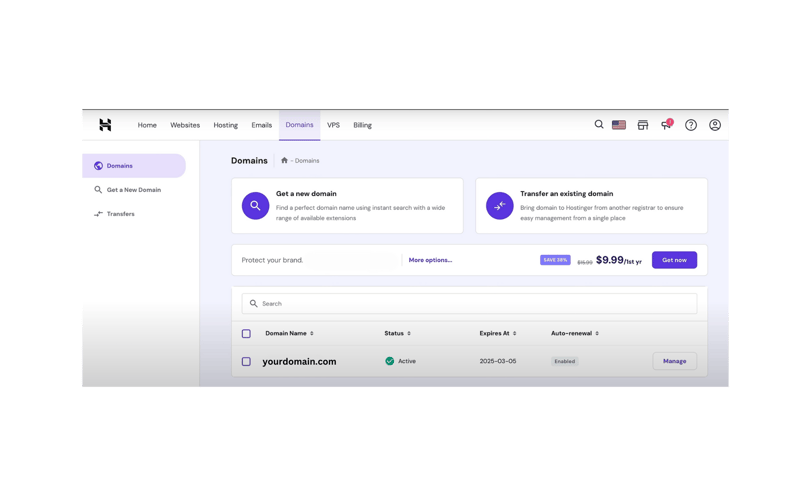

If it shows a Pending Verification status, head to your email inbox to verify the domain.
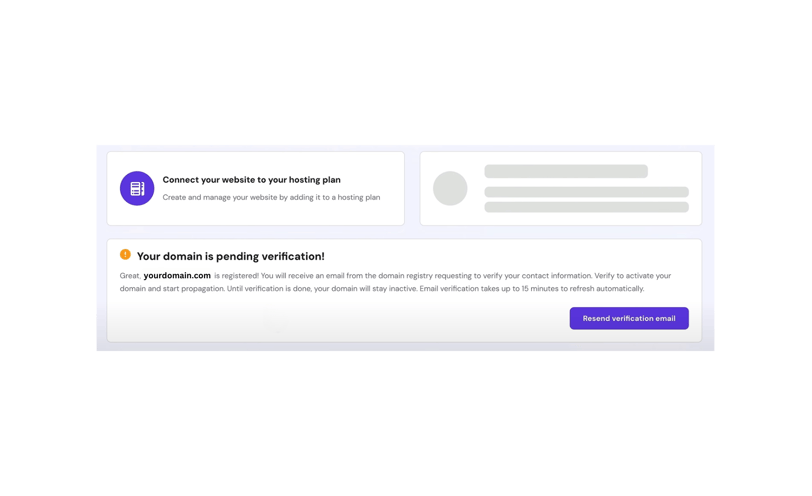

Step 11: Domain Pending Verification
Step 12: Confirm Domain Email Verification
Look for an email titled "Please confirm your contact details for your domain".
Open the email and click the confirmation link.
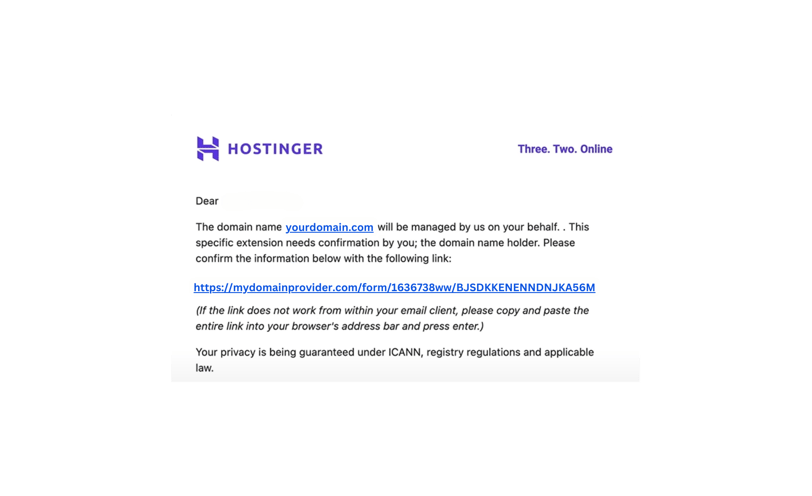

Check the necessary boxes and click Submit to confirm your domain registration details.
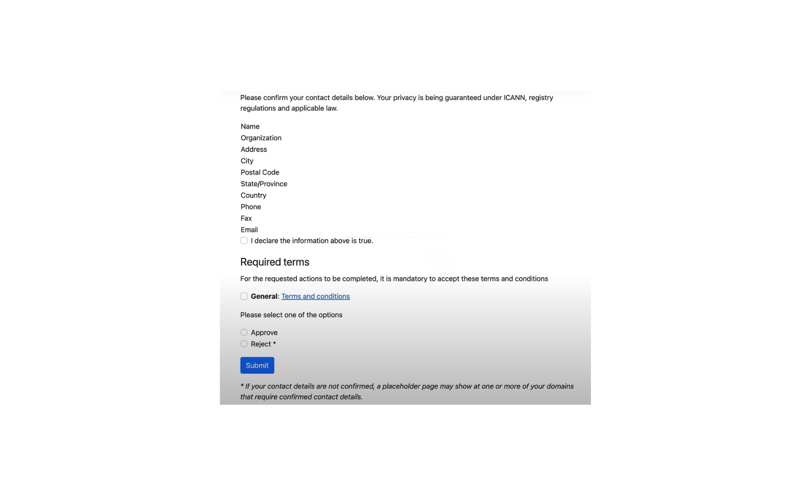

Step 13: Confirm Domain Contact details
Step 14: Check Domain Verification Status
After confirming the domain, return to the Hostinger dashboard and reload the page.
The domain’s verification status should now say Verified.
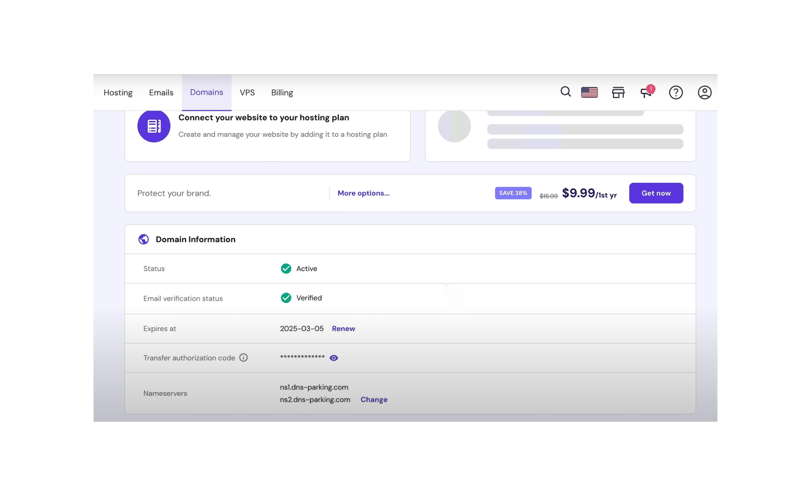

Now that your domain is verified, you can set up hosting.
Under Hosting, click Set Up for the domain you just registered.
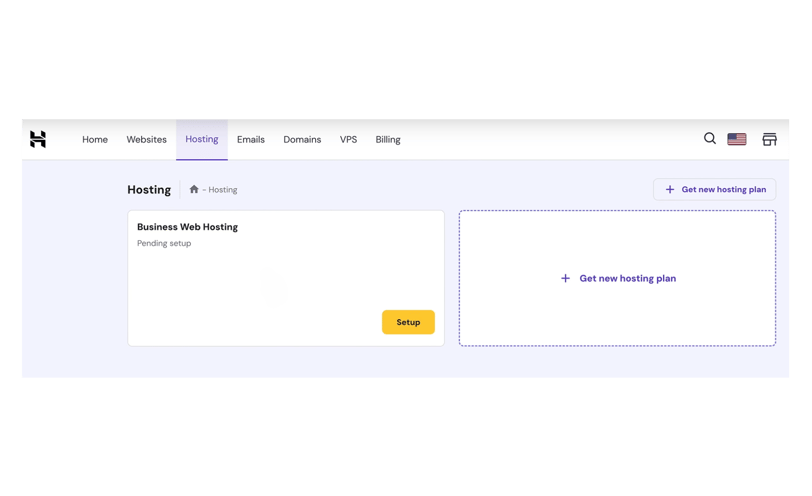

Step 15: Set Up Hosting
Step 16: Who is the website for
Select for Myself or my Business
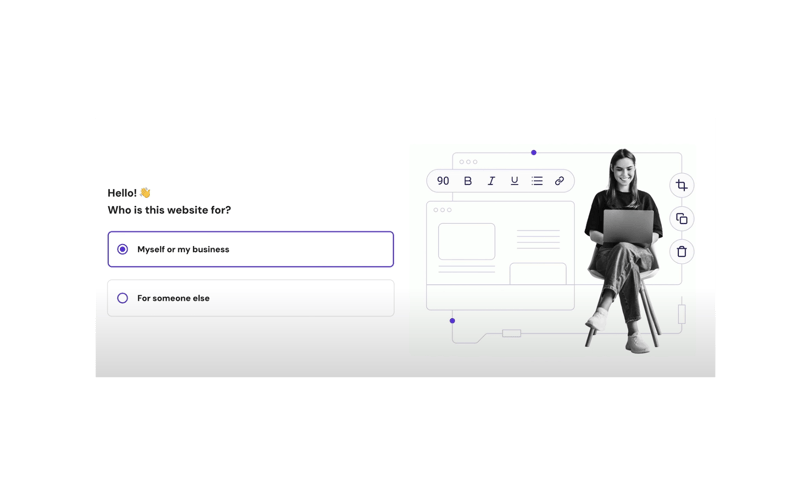

Select Create website
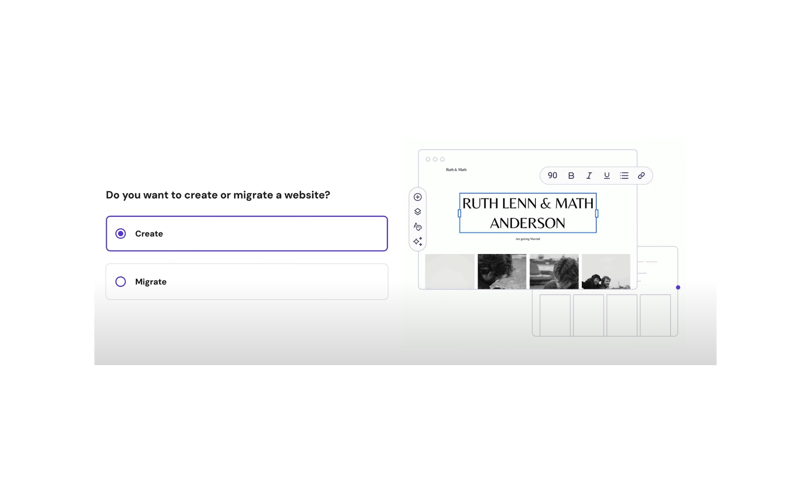

Step 17: Set Up Hosting
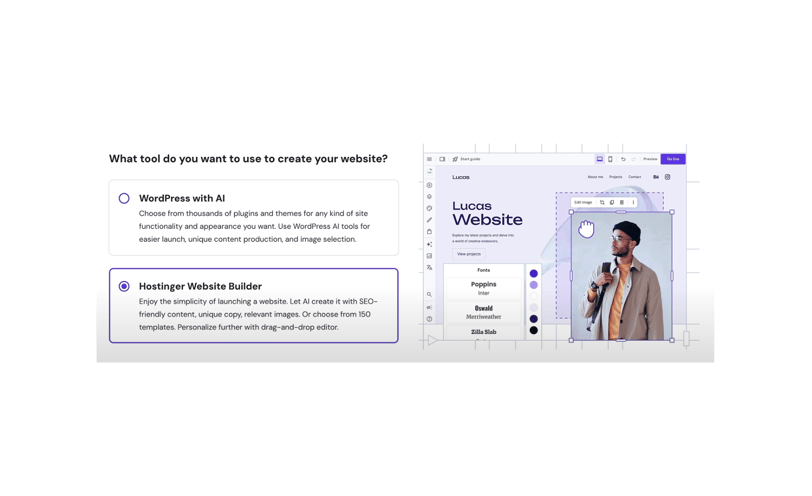
Step 18: Set Up Hosting (cont..)
Select Hostinger Website Builder

Select the Start Creating button
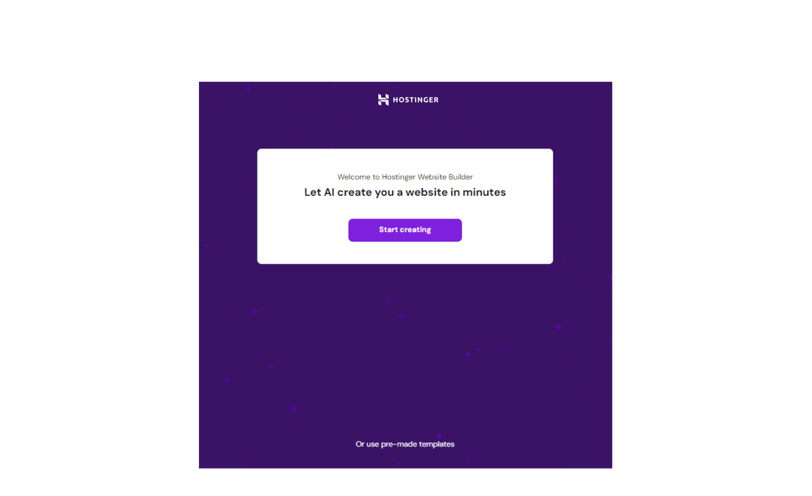

Step 19: Set Up Hosting (cont..)
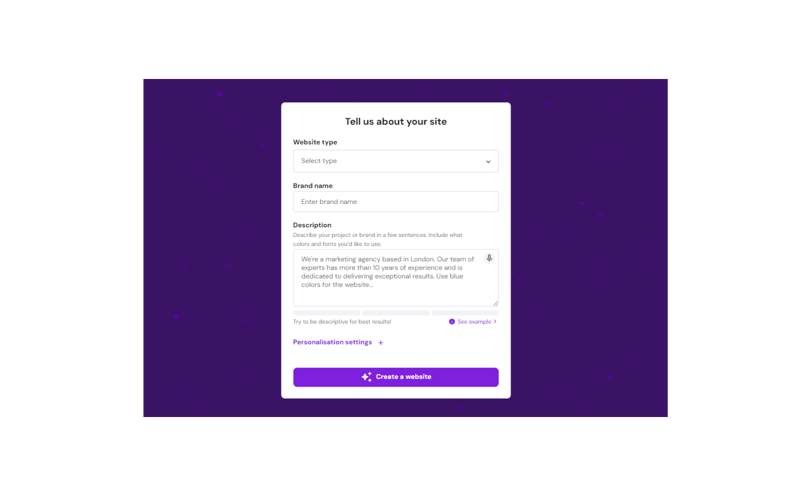
Step 20: Set Up Hosting (cont..)
Select the type of website and insert your brand name.
Provide a detailed description of the website that you are trying to create.
select the color pallet and click create website.


Congratulations! Your All Setup.
You didn’t come this far to stop
Enjoy exclusive New Product & Store Launches only to our subscribers + awesome insider tips & marketing secrets.


